


 |
| Click Picture for see screenshot |
The GUI is completely done however in the process of switching the backend code to WPF I have hit some snags because WPF does not offer much of the functions that Windows Forms does. I am currently too busy with work/school to devote much time to solving this so for now V5 is being put on hold.
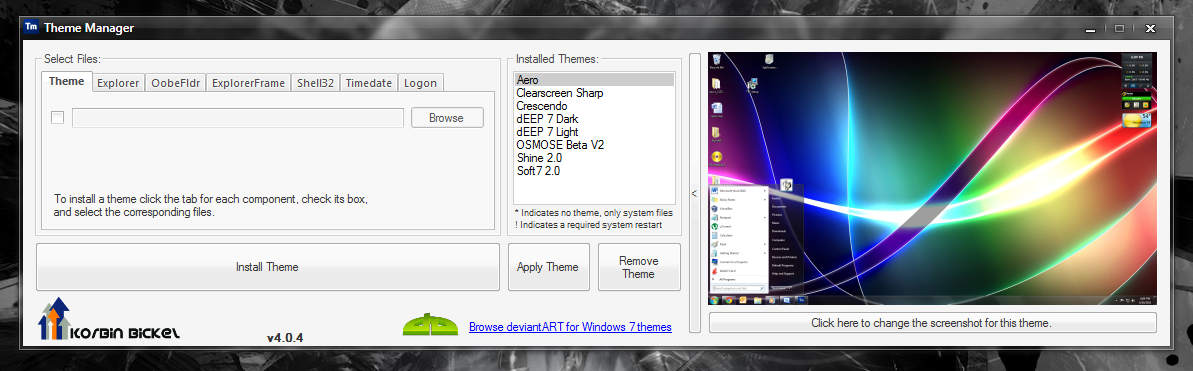
Theme Manager allows you to install, apply, and remove themes all from one location as well as changing the Windows logon background. Support for screenshots is also included so you can view themes before applying them.
Current Verison = 4.0.4
A full change log can be found in my deviantID space.
All versions support 64-bit Windows.
Version 1.1.2 and higher support 32-bit Windows.
Do not use on Non-English systems.
YOUR SYSTEM FILES MUST BE PATCHED BEFORE USING THIS APPLICATION!
I recommend "UxStyle Core" for that. Here is the [http://www.uxstyle.com/]
I've gotten some reports that after installing Windows 7 SP1 and then using this program the Aero Basic theme will be enabled.
This is almost always fixed by reinstalling UxStyle Core or whatever patcher you happen to be using. After that it should function just fine.
How to use Theme Manager:
Installing themes:
In the tab for each included theme file, check the box and browse to the file (drag 'n' drop is also supported). When all components are selected click "Install Theme". The theme will be added to the list on the right
Applying a theme:
Select the desired theme in the theme list and click "Apply Theme". The screen may flash a few times while loading the theme.
Removing a theme:
Select the desired theme in the theme list and click "Remove Theme". You cannot remove the currently applied theme.
Restoring Windows Defaults:
Select the "Aero" theme in the theme list and click "Apply Theme".
Reseting Theme Manager:
Note: This removes all installed themes and applys the Windows Defaults.
While in Theme Manager press the "Ctrl+R" keys on your keyboard. Select "Yes" on the pop-up warning.
Export a theme as a tmzip file:
Select the desired theme in the theme list. Press the "Ctrl+E" keys on your keyboard. The tmzip file will be created on your Desktop.
Import a theme:
Press the "Ctrl+I" keys on your keyboard. In the file selection window, find and select the .tmzip file to import.
View or Take screenshot:
Press the Expend key (the long button on the very right side) to open the screenshot pane. If a theme is selected its screenshot will show.
To take a screenshot, Apply the theme and with its name selected press the button below the screenshot viewing area.
Double clicking on a screenshot will expand it to see more detail.

Download
More themes manger>>
More themes windows 7>>


No comments:
Post a Comment